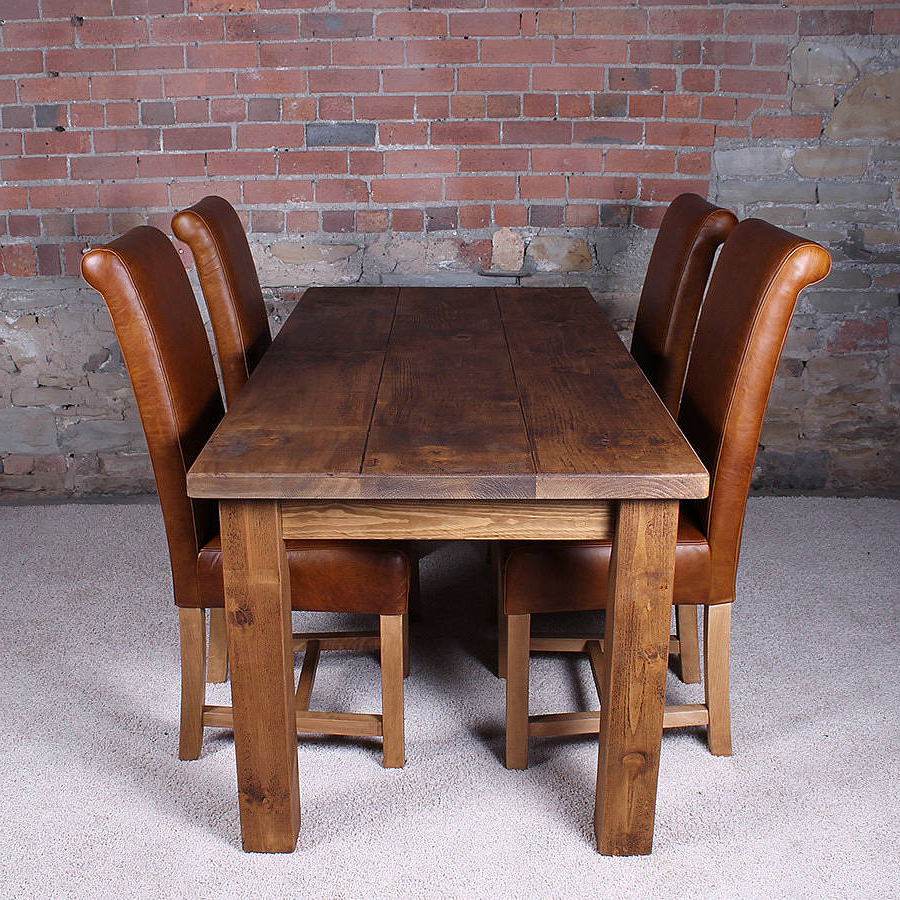
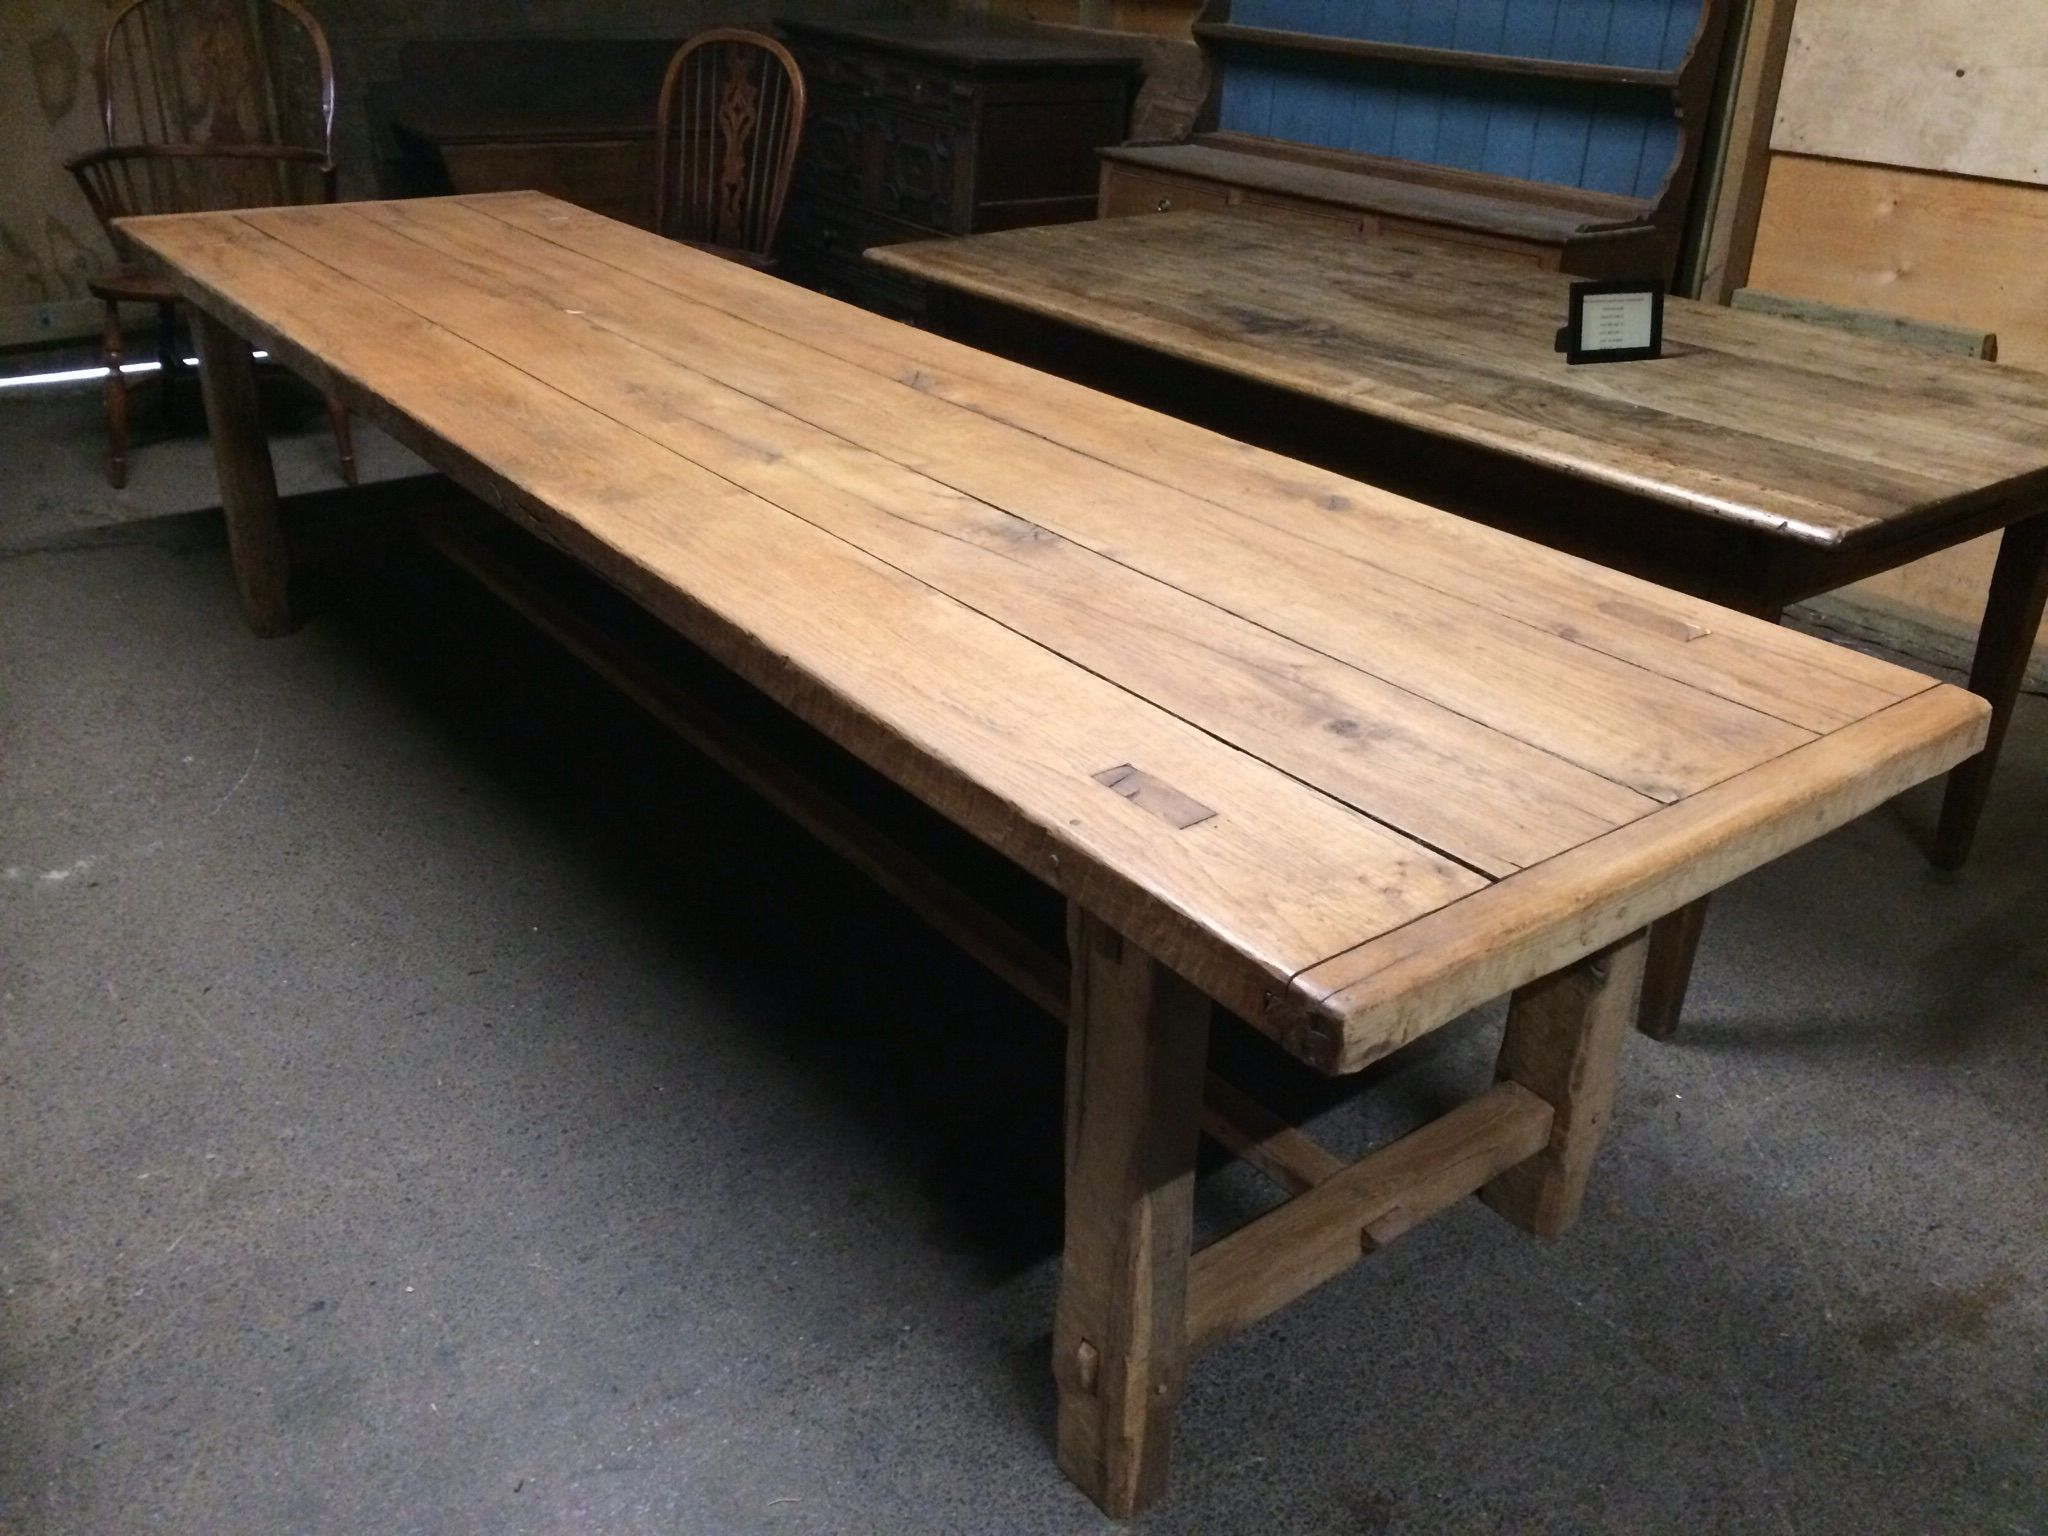
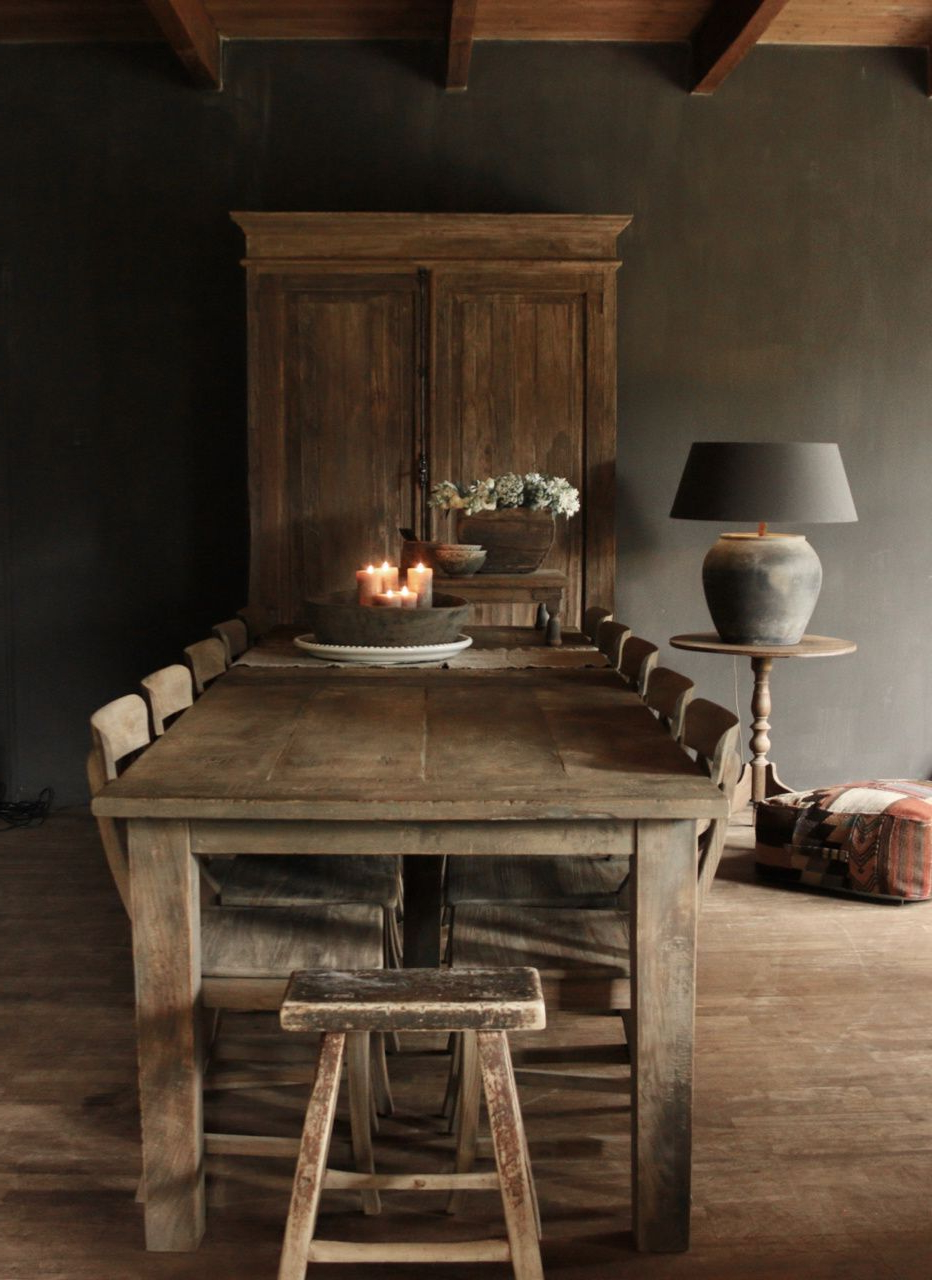
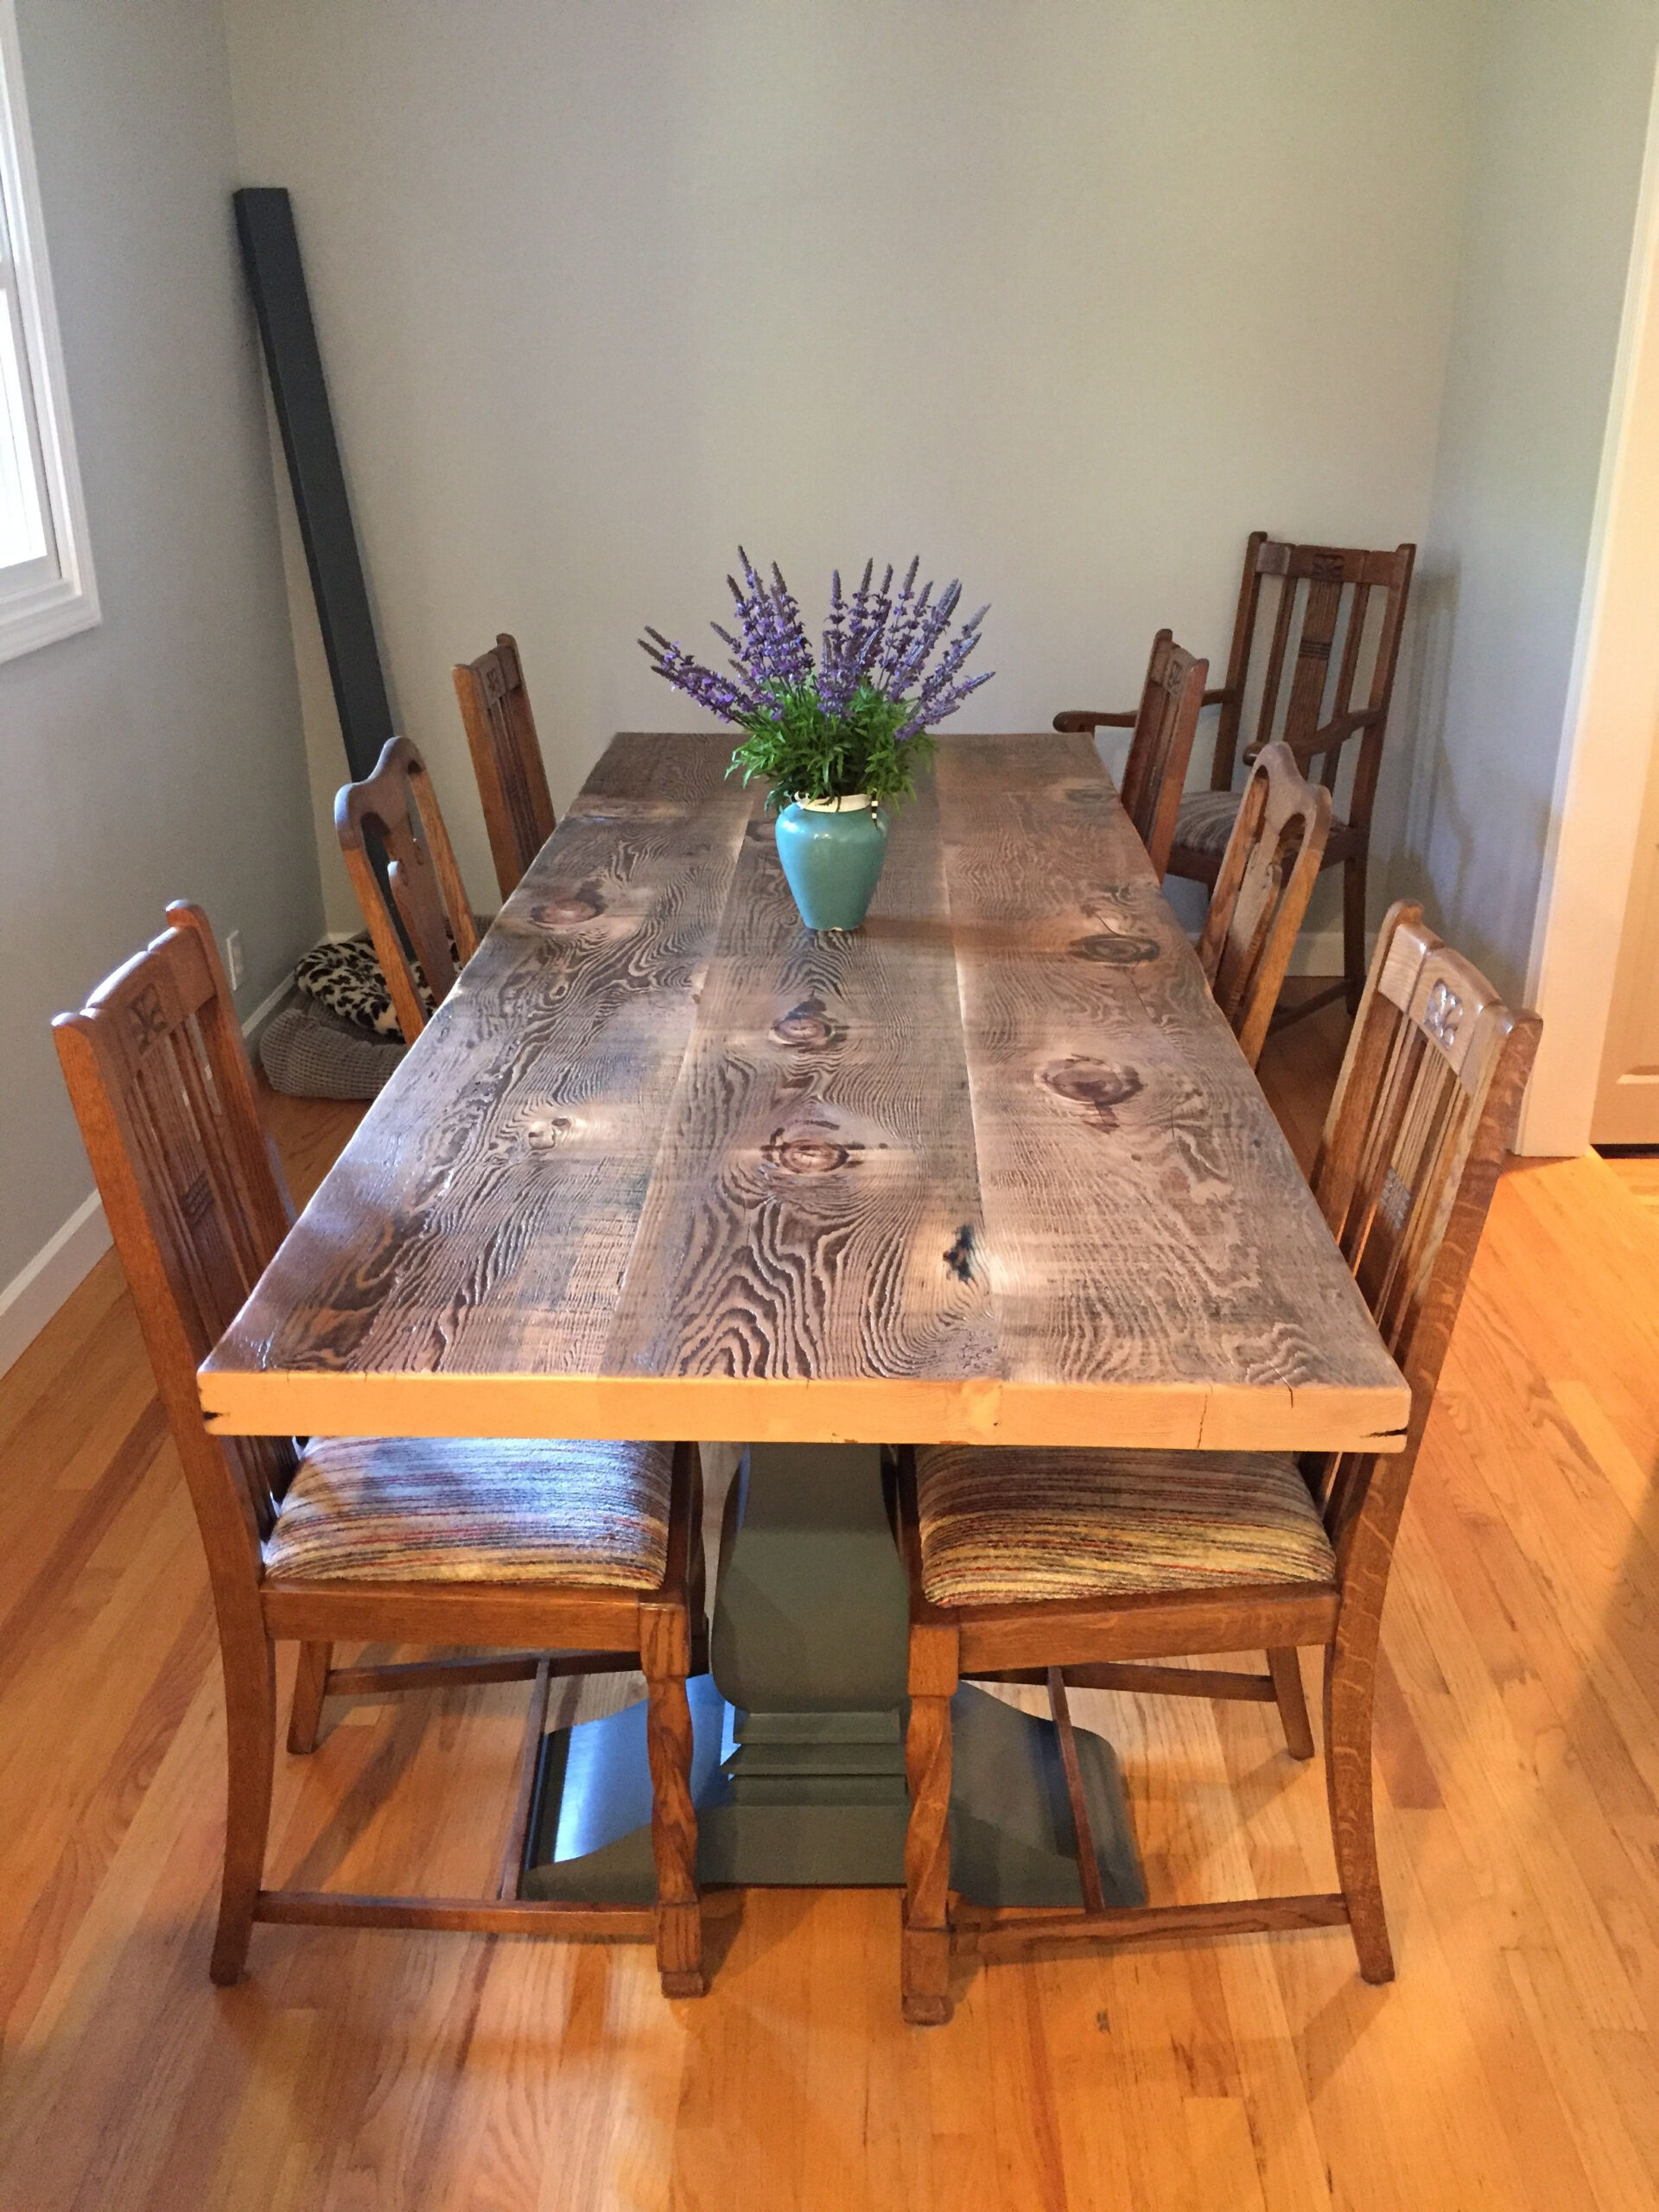
There’s something undeniably captivating about an old wood dining table, isn’t there? It’s more than just furniture; it’s a repository of memories, a silent witness to countless meals, conversations, and gatherings. And what truly gives these pieces their soul is the patina – that subtle, beautiful wear and aging that tells a story. But how do you get that perfect, authentic patina, or enhance the one you already have? Let’s dive in.
Before we start talking about achieving it, let’s get clear on what patina actually is. In the context of wood, patina refers to the surface changes that occur over time due to exposure to light, air, handling, and use. It’s not just dirt or grime; it’s a transformation. Think of the warm glow on an antique chair arm, the slight darkening of wood in high-traffic areas, or the subtle sheen from years of polishing and touch. It’s the visual evidence of a life lived. For many, finding or creating this is the ultimate goal when restoring or acquiring an old wood dining table. It’s what elevates a piece from merely functional to truly cherished. It’s about respecting and highlighting the history etched into the very fibers of the wood.
Understanding the Natural Patina Process
Nature has its own way of aging wood, and it’s a slow, deliberate process. Over decades, even centuries, wood reacts with its environment. Sunlight causes oxidation, leading to lightening or darkening depending on the wood species and finish. Regular handling, like wiping down the table or resting elbows on it, can create a smoother, sometimes slightly shinier surface in those specific areas. Spills, though often cleaned, can leave faint marks or alter the wood’s color subtly over time. Even the oils from our hands contribute to a gradual build-up and polish. This natural aging is unique to each piece and tells its own history. It’s a fingerprint of time. We often see it as a desirable characteristic, a sign of authenticity and age. Trying to replicate this overnight is a challenge because it’s built on years of gentle interaction and environmental exposure.
Assessing Your Table’s Current State
So, you’ve got an old wood dining table. The first step is to really look at it. What’s already there? Is it a deep, rich color from years of wax polish, or is it a bit dull and faded from too much sun? Are there faint water rings or minor scratches? Don’t rush to cover these up. Often, these are the very elements that contribute to a beautiful patina. Gently clean the surface. A soft cloth with a mild soap and water solution is usually best. Avoid harsh chemicals, as they can strip away existing character. Once it’s clean and dry, observe. Where does the wood look the most worn or loved? These are the areas to protect and enhance. Sometimes, a simple, thorough cleaning and a good quality wax polish are all you need to bring out the existing beauty and patina.
Techniques for Enhancing Existing Patina
If your table has some patina but could use a little boost, there are gentle ways to enhance it. The key is to work with the wood, not against it. Many people swear by natural waxes, like beeswax or carnauba wax. Applying a quality paste wax with a soft cloth, working in the direction of the wood grain, and then buffing it to a gentle sheen can revive dull surfaces and deepen the existing color. It also adds a protective layer. For areas that might be a bit too light or faded, you can sometimes use a wood stain stick or a colored wax specifically designed to match your wood tone. The trick here is to apply it very sparingly and blend it in well, focusing on areas that naturally receive more wear. Think of it as a subtle touch-up, not a complete refinish. The goal is to deepen the existing character, not create something entirely new. Always test any product in an inconspicuous area first – perhaps underneath the table or on a corner that doesn’t get much attention.
Creating a ‘New’ Patina: A Delicate Art
Creating a patina on a newer table, or one that’s been stripped and is looking a bit bland, is a more involved process and requires a delicate touch. It’s about mimicking the effects of time and use. One method involves using a wood conditioner and then applying a water-based stain in thin layers. You can also use a technique called ‘distressing,’ which involves gently sanding edges, tapping the surface to create small dents, or even using a wire brush to mimic wear marks. Another popular approach is layering finishes. You might start with a base stain, then apply a glaze to add depth and age, and finally seal it with a topcoat. Some people even use a bit of steel wool with vinegar and steel to create an aged look, though this can be unpredictable and needs a lot of testing. The most important thing is to be patient and subtle. Overdoing it will make the table look artificially aged. Aim for authenticity by observing how real patina develops. Look at antique furniture for inspiration. Where does wear naturally occur? Focus on those areas. A bit of wear on the edges where people sit, a slightly smoother surface in the center from placemats and elbows, and perhaps a subtle darkening in crevices.
The Role of Finish and Maintenance
The type of finish on your table plays a huge role in how it ages and how you can achieve or maintain patina. A hard, modern polyurethane finish is very durable but doesn’t develop patina in the same way an oil or wax finish does. Oil and wax finishes penetrate the wood and wear away gradually, allowing the wood itself to show its age more readily. If you’re working with a table that has a thick, modern finish, you might need to strip it back to the bare wood or at least to a thinner, older finish to encourage natural patina development. Regular maintenance is also crucial. For tables with a natural or waxed finish, a regular dusting and occasional reapplication of a good quality paste wax will protect the wood and enhance its luster. For tables with a more distressed or artificially aged look, gentle cleaning is paramount. Avoid abrasive cleaners or tools that could remove the carefully crafted details. Think of it as ongoing care to preserve the story you’ve helped to tell.
Common Pitfalls to Avoid
When you’re aiming for that perfect patina, it’s easy to make mistakes. One of the biggest is overdoing it. Trying to make a brand-new table look like a 200-year-old antique in one go often results in something that looks artificial and cheap. Be subtle. Another pitfall is using the wrong cleaning products. Harsh chemicals can strip away not only dirt but also the very character you’re trying to preserve or create. Always err on the side of caution with cleaners. For those creating a new patina, be wary of making all the distressing look the same. Natural wear is irregular and varied. If every edge is sanded identically, it screams ‘fake.’ Finally, don’t be afraid of minor imperfections. A small ding or a faint mark can add to the charm and authenticity. The goal isn’t a flawless surface; it’s a surface with a history and a soul.
Finding or creating the perfect patina on your old wood dining table is a journey, not a destination. It’s about appreciating the passage of time and the stories embedded within the wood. Whether you’re enhancing an existing patina with a gentle wax or carefully crafting a new one to give a piece character, the key is patience, observation, and a respectful approach. Remember, the most beautiful patina is often the one that arises naturally from years of love and use. So, embrace the imperfections, celebrate the history, and enjoy the unique warmth and character that a perfectly patinated wood dining table brings to your home. It’s more than just a table; it’s a piece of history you can gather around.


