Ever feel like your dining table is just… there? A flat surface waiting for food. But what if it could be more? What if it could be the centerpiece of your gathering, setting the mood and making everyone feel special even before the first bite? Setting a beautiful dining table doesn’t have to be complicated or time-consuming. It’s about a few thoughtful touches that make a big difference. Let’s dive in and discover how simple it can be to create an inviting and elegant dining experience for any occasion.
You might be thinking, ‘Do I really need to set the table nicely? We’re just eating.’ And sure, for a quick weeknight meal, a casual approach is totally fine. But a well-set table does wonders. It shows care and consideration for your guests, or even just for yourself. It elevates the ordinary into something memorable. Think about those special dinners you’ve attended – didn’t the table setting play a part in the overall feeling. It’s like a silent welcome, a visual promise of a good time. Plus, it makes the food look so much better, doesn’t it. Ready to learn the simple secrets to a stunning table setting that feels effortless? Let’s get started!
1. The Foundation: Linens and Placemats
First things first, let’s talk about the base. This is where you set the tone. Do you want something formal and elegant, or relaxed and cozy?
- Tablecloths: For a formal affair, a crisp, clean tablecloth is a classic choice. White or a neutral color tends to be versatile and sophisticated. Make sure it drapes nicely over the sides, about 10-15 inches down. No one wants to bump their knees on the edge of the cloth.
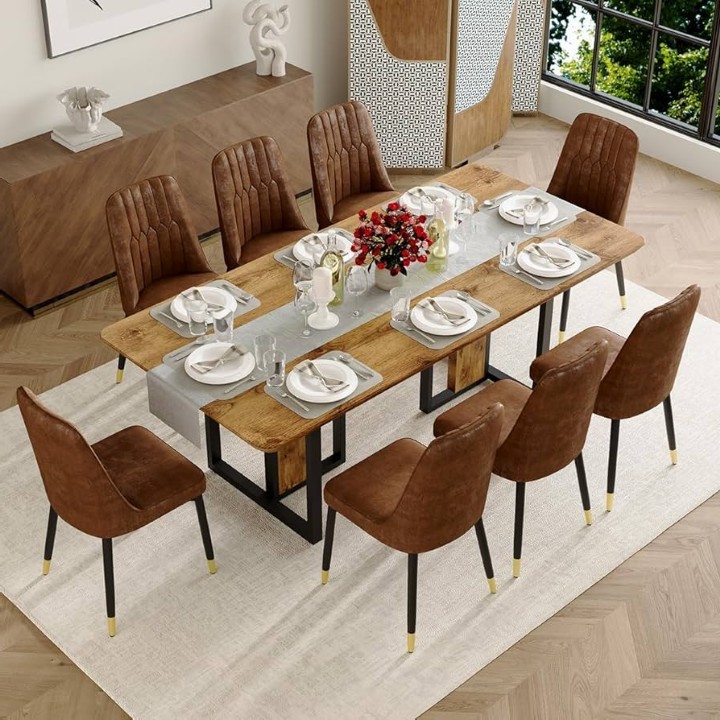
- Table Runners: A runner can add a pop of color or texture without covering the entire table. It’s a great way to highlight the wood grain or a beautiful table surface. You can lay it lengthwise or even widthwise for smaller gatherings.
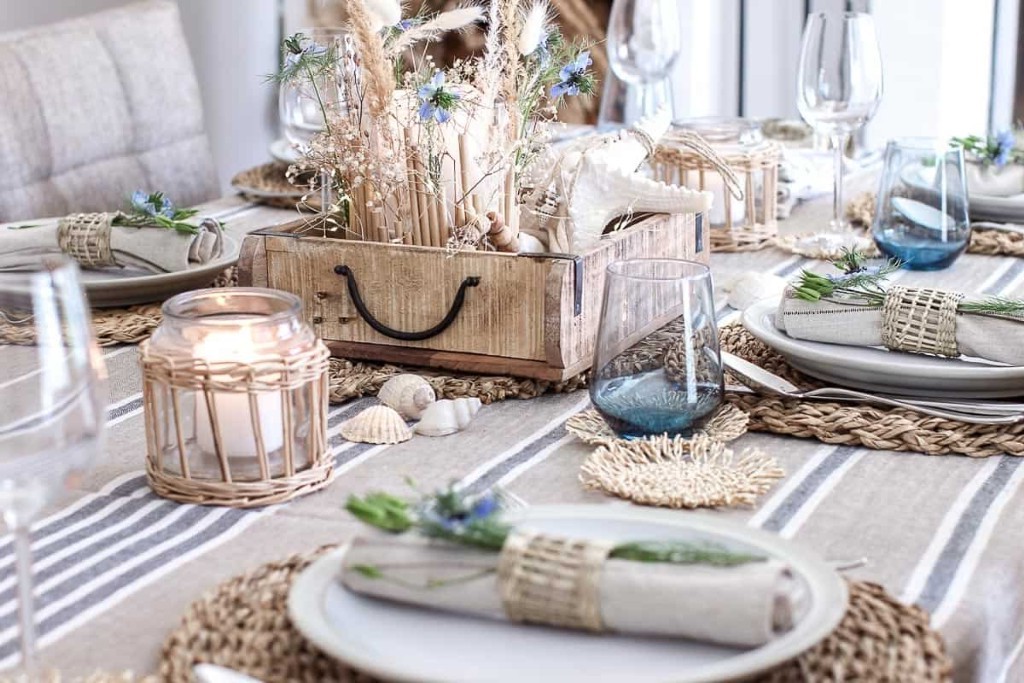
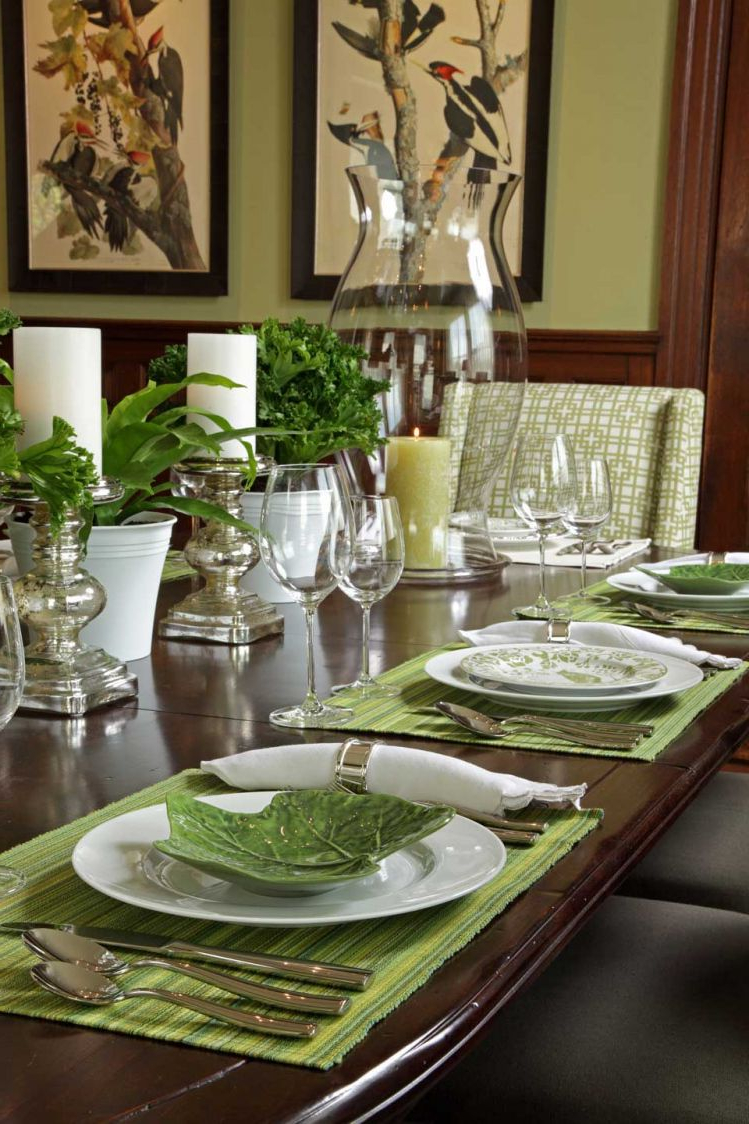
- Placemats: These are your go-to for a more casual feel, or when you want to protect your table from heat and spills. They define each person’s space beautifully. Materials range from woven natural fibers to vinyl, so pick something that suits your style and the occasion. Don’t be afraid to mix and match textures either. A linen placemat with a rustic wooden table? Lovely.
Pro Tip: Always make sure your linens are clean and ironed! Wrinkles can really detract from the overall look, even with the most beautiful settings.
2. The Main Event: Dinner Plates and Salad Plates
Now for the dishes! This is where the eating actually happens, so placement is key.
- Dinner Plate: Place the dinner plate directly in the center of the placemat or where each guest will be sitting. This is the anchor for everything else.
- Salad Plate (Optional): If you’re serving a salad before the main course, place the salad plate on top of the dinner plate. For a more formal setting, a charger plate can go underneath the dinner plate. A charger isn’t meant for eating off of; it’s purely decorative and adds a layer of elegance. It’s removed before the main course is served.
Placement Precision: Imagine a clock face. The plate should be centered at the ’12 o’clock’ position on the placemat. If you’re using a charger, the dinner plate sits squarely on it. It sounds simple, but getting this right makes a world of difference in how organized and intentional the table looks.
3. Forks, Knives, and Spoons: The Utensil Arrangement
This is where many people get a bit flustered, but it’s really quite logical once you get the hang of it. The rule of thumb is: utensils are arranged in the order they will be used, working from the outside in.
- Forks: Forks always go to the left of the plate. The salad fork (if used) is on the outside, and the dinner fork is closer to the plate. So, left to right: Salad Fork, Dinner Fork.
- Knives and Spoons: Knives go to the right of the plate, with the blade facing inward towards the plate. This is important for safety and also looks neater. If you’re serving soup, the soup spoon goes to the right of the knife. If you’re serving a fish course, a fish knife might go to the right of the dinner knife. So, right to left: Soup Spoon, Knife, (Fish Knife).
- Dessert Utensils: These are often placed horizontally above the plate. The fork goes closest to the plate (handle pointing left), and the spoon goes above the fork (handle pointing right). Or, they can be brought out with the dessert.
A Little Trick: Remember ‘BMW’ – Bread, Meal, Water. Bread plate goes to the left, above the forks. Meal plate is in the center. Water glass goes to the right, above the knives and spoons. Easy, right?
4. Glasses and Cups: Hydration Station
Don’t forget the drinks! Proper placement of glasses adds a polished touch.
- Water Glass: This is always placed above the knife on the right side. It should be positioned slightly above and to the right of the tip of the knife.
- Wine Glass(es): If you’re serving wine, the wine glass(es) are placed to the right of the water glass. If you have multiple wine glasses (e.g., red and white), arrange them in a diagonal line or a slight curve, with the one you’ll use first (usually the white wine glass) positioned closest to the water glass.
- Coffee/Tea Cup: If you’re serving coffee or tea with dessert, the cup and saucer can be placed to the right of the spoons, or brought out with dessert.
Spacing is Key: Give each guest enough elbow room. Don’t crowd the glasses together. They should be easily reachable without guests having to stretch too far.
5. The Finishing Touches: Napkins and Decorations
This is where you add personality and flair. These small details make a big impact.
- Napkins: Napkins can be placed in a few ways. For a casual setting, they can be folded and placed to the left of the forks, or tucked into a napkin ring on top of the plate. For a more formal look, you can fold them elegantly and place them on top of the salad plate or directly on the dinner plate. Fabric napkins always feel a bit more special than paper ones.
- Centerpiece: A centerpiece adds visual interest. Keep it at a height that doesn’t obstruct conversation. A low floral arrangement, a cluster of candles, or a decorative bowl works beautifully. Avoid anything too tall or too fragrant that might interfere with the enjoyment of the food.
- Place Cards (Optional): For larger gatherings or to add a touch of formality, place cards can be used to designate seating. Place them just above the plate, or resting on the napkin.
Consider the Theme: Are you going for a rustic feel? Maybe some sprigs of rosemary or small pinecones with your napkins. A holiday dinner? Red and green accents can be lovely. Let your theme guide your decorative choices.
6. Beyond the Basics: Elevating Your Setting
Once you’ve mastered the fundamentals, there are always little extras you can do to make your table truly shine.
- Bread Plate and Butter Knife: If you’re serving bread, the small bread plate goes above the forks to the left. A butter knife is placed horizontally on the bread plate, with the blade facing down and slightly to the left.
- Salt and Pepper: Make sure shakers are readily available for guests. Either place a set for every two guests or ensure they are easily passed around.
- Seasonal Touches: Incorporate elements that reflect the season or holiday. Think autumnal leaves for Thanksgiving, holly for Christmas, or fresh spring flowers. It shows you’ve put extra thought into the occasion.
- Lighting: Soft, ambient lighting can make a huge difference. Dim overhead lights and use candles or softer lamps to create a warm and inviting atmosphere.
Practice Makes Perfect: The more you set your table, the more natural it will become. Don’t stress about perfection. The goal is to create a welcoming and enjoyable space for you and your guests. Even a simple, thoughtfully set table can make a meal feel like a special occasion.
See? Setting a beautiful dining room table doesn’t have to be a daunting task. With these simple steps, you can transform any meal into a more enjoyable and memorable experience. It’s about layering elements thoughtfully, from the linens and plates to the utensils and decorations. Remember the ‘outside-in’ rule for cutlery, and the ‘BMW’ guideline for placement. Most importantly, have fun with it. Let your personal style and the occasion guide your choices. So go ahead, set that table, gather your loved ones, and savor the moment. A little effort goes a long way in creating warmth, connection, and beautiful memories around your dining table. Happy dining!


